How To Create a Spectacular Garden: Ideal Plants for a Showy Display
Introduction
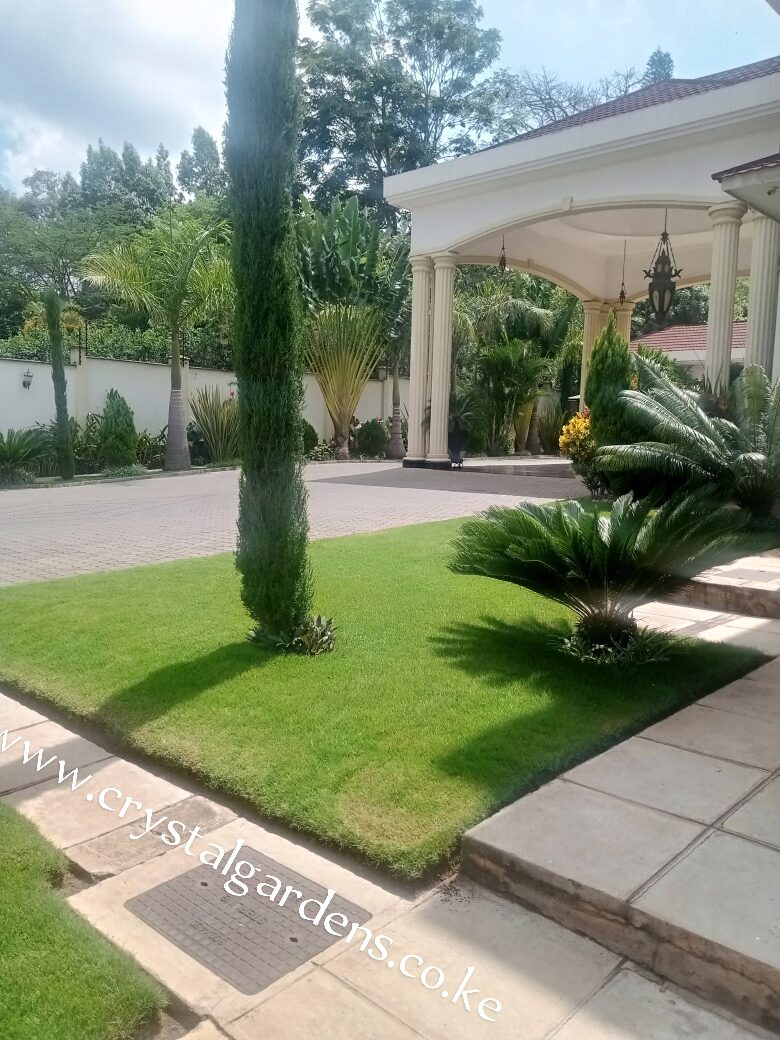
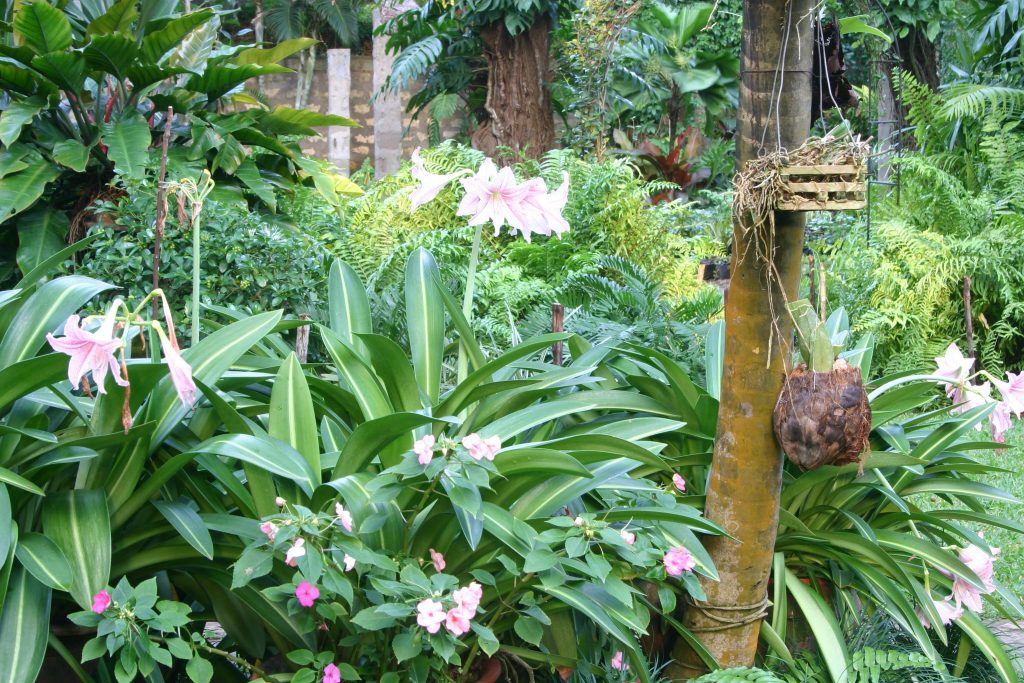
Establishing a new garden can be an exciting endeavor, filled with the promise of vibrant colors, lush foliage, and the sweet fragrance of flowers. Where the rubber meets the road is in selecting the right plants for a showy and visually appealing display. In this article, we will explore a curated selection of plants that are not only easy for new gardeners to cultivate but also promise a spectacular show in any garden setting. From the bold and dramatic Canna Lily to the delicate charm of Pelargoniums, each plant brings its unique personality to the garden canvas.
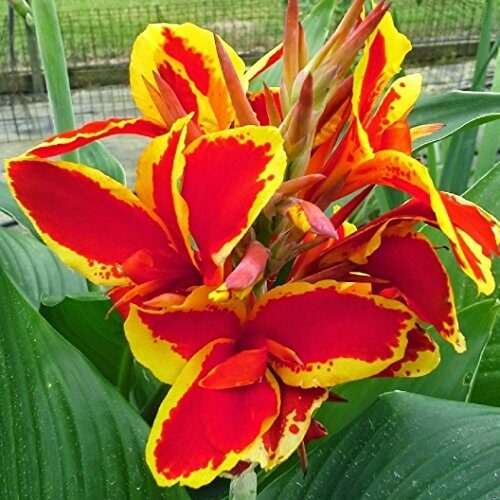
Canna Lily: A Symphony of Colors and Shapes
Canna Lily, known for its flamboyant blooms and striking foliage, is an excellent choice for adding drama to your garden. With its tall stalks and large, banana-like leaves, the Canna Lily creates a tropical ambiance. The flowers, available in a myriad of colors such as red, orange, yellow, and pink, are sure to captivate attention. These plants thrive in well-drained soil and love basking in the sunlight, making them ideal for both borders and containers. Canna Lilies are relatively low-maintenance, requiring regular watering and occasional feeding during the growing season. Their ability to attract hummingbirds and butterflies further enhances the allure of these captivating plants. For a showy display, consider planting different Canna Lily varieties with varying colors and heights, creating a dynamic visual composition
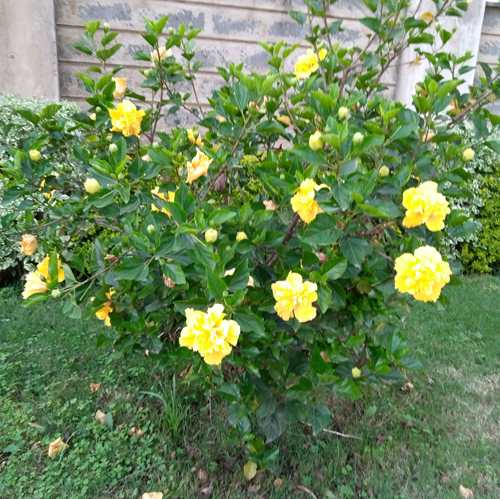
Hibiscus Rosa-Sinensis: Tropical Beauty In Your Backyard
The Hibiscus Rosa Sinensis, commonly known as the Chinese Hibiscus, is synonymous with tropical elegance. Renowned for its large, vibrant flowers, this plant adds a touch of exotic beauty to any garden. The blossoms, which can range from bold reds to delicate pinks and whites, often feature a prominent central stamen, creating a captivating focal point. Thriving in well-drained soil and under full sun, the Chinese Hibiscus is a hardy and resilient plant. Regular watering is essential, and it’s advisable to fertilize during the growing season for optimal blooms. With its lush, glossy foliage and extended flowering period, the Chinese Hibiscus promises a continuous display of beauty, making it an ideal choice for both novice and experienced gardeners alike.
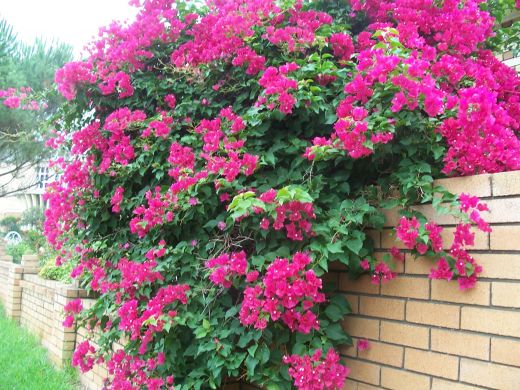
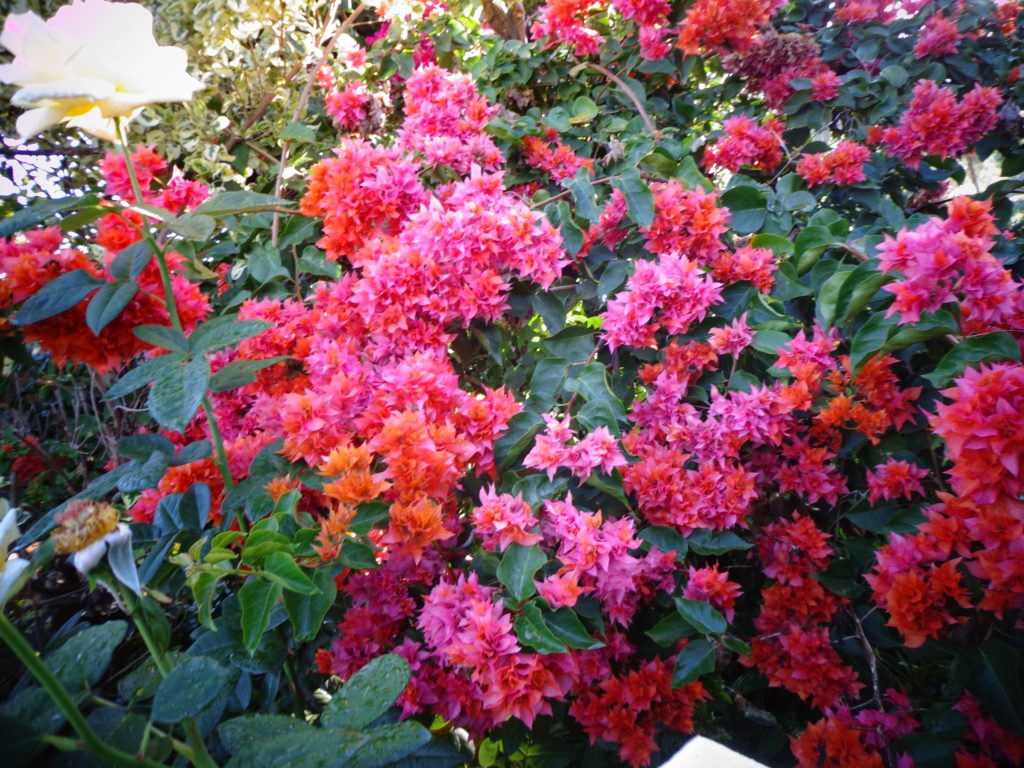
Bougainvillea Hybrids and Cultivars: A Riot of Color
Bougainvillea, with its vibrant and persistent bracts, is a showstopper in any garden. Available in a variety of hybrids and cultivars, these plants offer an explosion of colors, including shades of pink, purple, red, and orange. Bougainvillea is particularly well-suited for warm climates, thriving in full sunlight and well-drained soil. One of the remarkable features of Bougainvillea is its ability to climb and cascade, making it an excellent choice for trellises, fences, or as a hanging basket plant. This versatility allows gardeners to experiment with different arrangements, creating visually stunning displays. While Bougainvillea is relatively low-maintenance, occasional pruning is recommended to shape the plant and encourage prolific blooming.
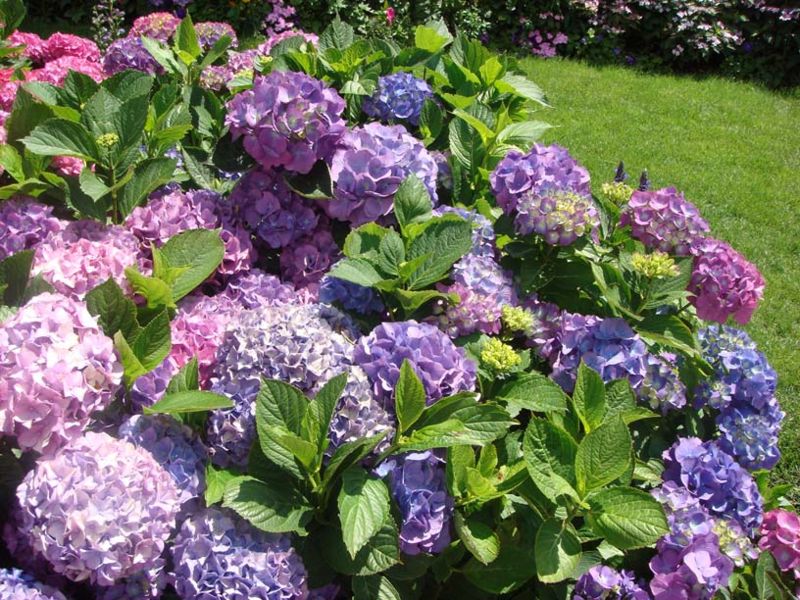
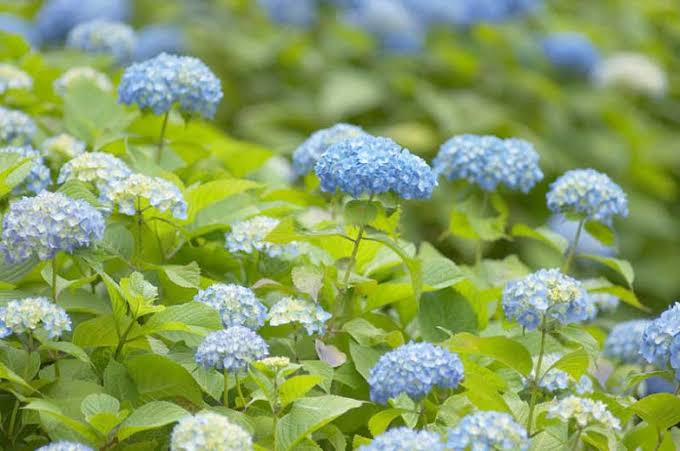
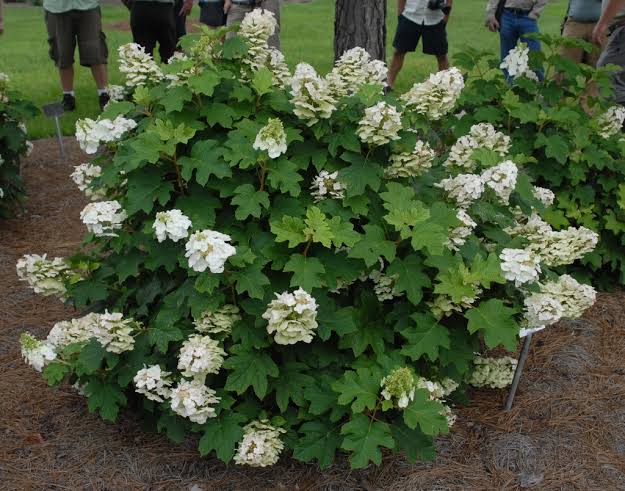
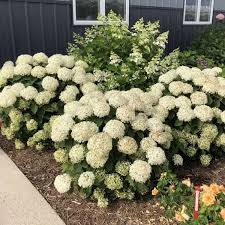
Hydrangea: Timeless Elegance in Every Petal
For a touch of timeless elegance, the Hydrangea is an exceptional choice. Known for its large, spherical flower heads and the ability to change color based on soil pH, Hydrangeas add a sense of sophistication to any garden. Varieties such as the mophead (large, round blooms) and lacecap (flat-topped blooms) offer diverse options for creating eye-catching displays. Hydrangeas prefer partial shade and moist, well-drained soil. Regular watering is essential, especially during dry periods. The appeal of Hydrangeas extends beyond their blooming season, as the dried flower heads can be left on the plant to create winter interest. With their enduring beauty and versatility, Hydrangeas are a must-have for those looking to create a garden that stands the test of time.
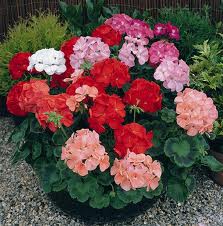
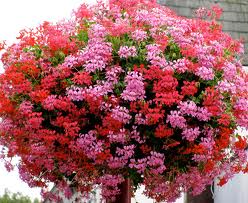
Pelargoniums: Graceful Elegance in Containers
Pelargoniums, commonly known as geraniums, are renowned for their delicate blooms and aromatic foliage. These plants are particularly well-suited for container gardening, making them an ideal choice for those with limited garden space. Pelargoniums come in a wide array of colors, including reds, pinks, whites, and purples, allowing for creative and visually appealing arrangements.
Thriving in well-drained soil and partial to full sunlight, Pelargoniums are relatively low-maintenance. Regular deadheading (removing spent blooms) encourages continuous flowering throughout the growing season. Additionally, the fragrance emitted by their leaves adds an extra dimension to the garden experience. Consider combining different Pelargonium varieties in containers to create a charming and fragrant display on patios or balconies.
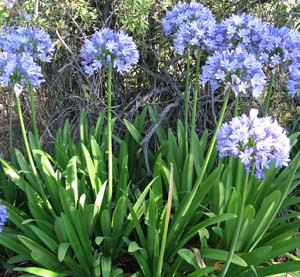
Agapanthus: Majestic Beauties in Blue and White
These plants thrive in well-drained soil and prefer full sunlight. Once established, Agapanthus is drought-tolerant, making it a resilient choice for various garden settings. The architectural beauty of their long, slender stems topped with globe-like blooms adds a structural element to the garden, making Agapanthus a must-have for those seeking a showy display with a touch of grandeur.

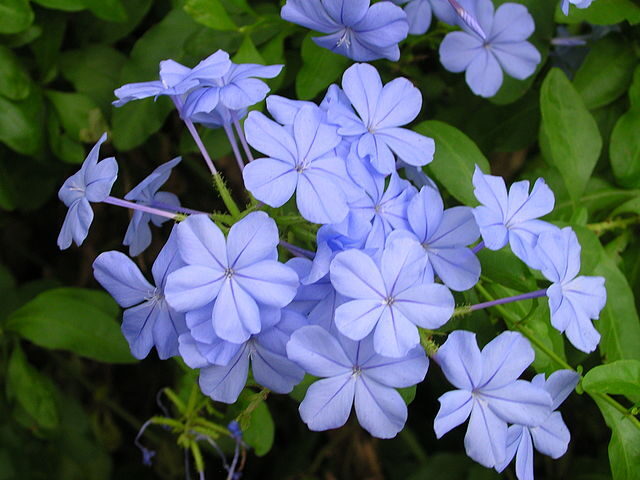
Plumbago: A Heavenly Blue Carpet
Plumbago, with its heavenly blue flowers, is a charming addition to any garden. This low-maintenance and fast-growing shrub produce clusters of delicate, phlox-like blooms that cover the plant throughout the growing season. Plumbago is well-suited for borders, ground cover, or as a container plant, adding a serene and tranquil atmosphere to the garden. Thriving in well-drained soil and partial to full sunlight, Plumbago is a versatile and adaptable plant. Regular pruning helps maintain its shape and encourages continuous blooming. The airy and graceful appearance of Plumbago makes it an excellent companion to other flowering plants, creating a harmonious and visually pleasing garden.
Conclusion
In conclusion, creating a showy garden display involves careful selection and placement of plants that not only thrive in your specific climate but also complement each other in terms of color, form, and texture. The Canna Lily, Hibiscus Rosa Sinensis, Bougainvillea hybrids and cultivars, Hydrangea, Pelargoniums, Agapanthus, and Plumbago offer a diverse palette for gardeners to play with, each bringing its unique charm to the outdoor canvas. Whether you are drawn to the tropical allure of Canna Lilies, the exotic elegance of Chinese Hibiscus, or the riot of color offered by Bougainvillea, incorporating these plants into your garden design can result in a superb display that evolves throughout the seasons. Additionally, the timeless beauty of Hydrangeas, the charm of Pelargoniums, the unduring presence of Agapanthus, and the arresting blue carpet provided by Plumbago will add depth and character to your garden setting